

Welcome to the world of pottery, where simple clay transforms into stunning art with the pottery wheel. The wheel isn’t just a tool; it’s a partner in creativity, offering endless possibilities for those willing to learn. Throwing—centering and shaping clay—is a fundamental yet challenging skill that tests the patience and abilities of potters.
To master the wheel, you need to know everything from preparing clay to the final touches. Centering and shaping are essential for success. This blog provides practical tips for both beginners and seasoned potters. We’ll guide you through centering clay, which requires both skill and strength, and show you how to shape basic forms like cylinders, bowls, and plates.
Embark on this journey with us, where patience and practice transform clay into a vessel for creativity. Whether you’re just starting or looking to improve, our advice will help you excel at throwing.
Understanding the Pottery Wheel
Firstly, familiarize yourself with the pottery wheel and its components before diving into centering and shaping. Wheels come in manual and electric varieties, each offering unique experiences—electric wheels for consistent speed and manual wheels for a more hands-on feel.
Setting up your workspace properly is key to a smooth throwing experience. A comfortable stool should keep you at the right height for the wheel’s head. Also, keep your tools—ribs, needles, trimming tools, and sponges—close at hand to stay focused and efficient.
Moreover, selecting the appropriate clay is vital. The properties and firing temperatures of different clays affect the final product. Choose a clay that balances plasticity and stability for wheel throwing. An equally important step is preparing your clay by wedging—this removes air bubbles and ensures consistency, laying the groundwork for successful pottery.
Lastly, as we delve deeper into throwing, remember that knowing your tools and materials is as crucial as mastering the techniques. The pottery wheel is more than an instrument; it’s an extension of your hands, capable of turning earth into beauty.
The Fundamentals of Clay Preparation
Starting your pottery with the right clay preparation is key. Before it even reaches the wheel, your clay needs careful preparation for a smooth throwing session. The aim is to get a uniform texture and remove any air pockets to avoid problems later.
Importance of Clay Consistency
The texture of your clay is critical. If it’s too wet, controlling it becomes tough; if too dry, shaping it is hard. You want it pliable yet firm enough to hold shape and allow adjustments. This balance starts with choosing the suitable clay and is refined during wedging.
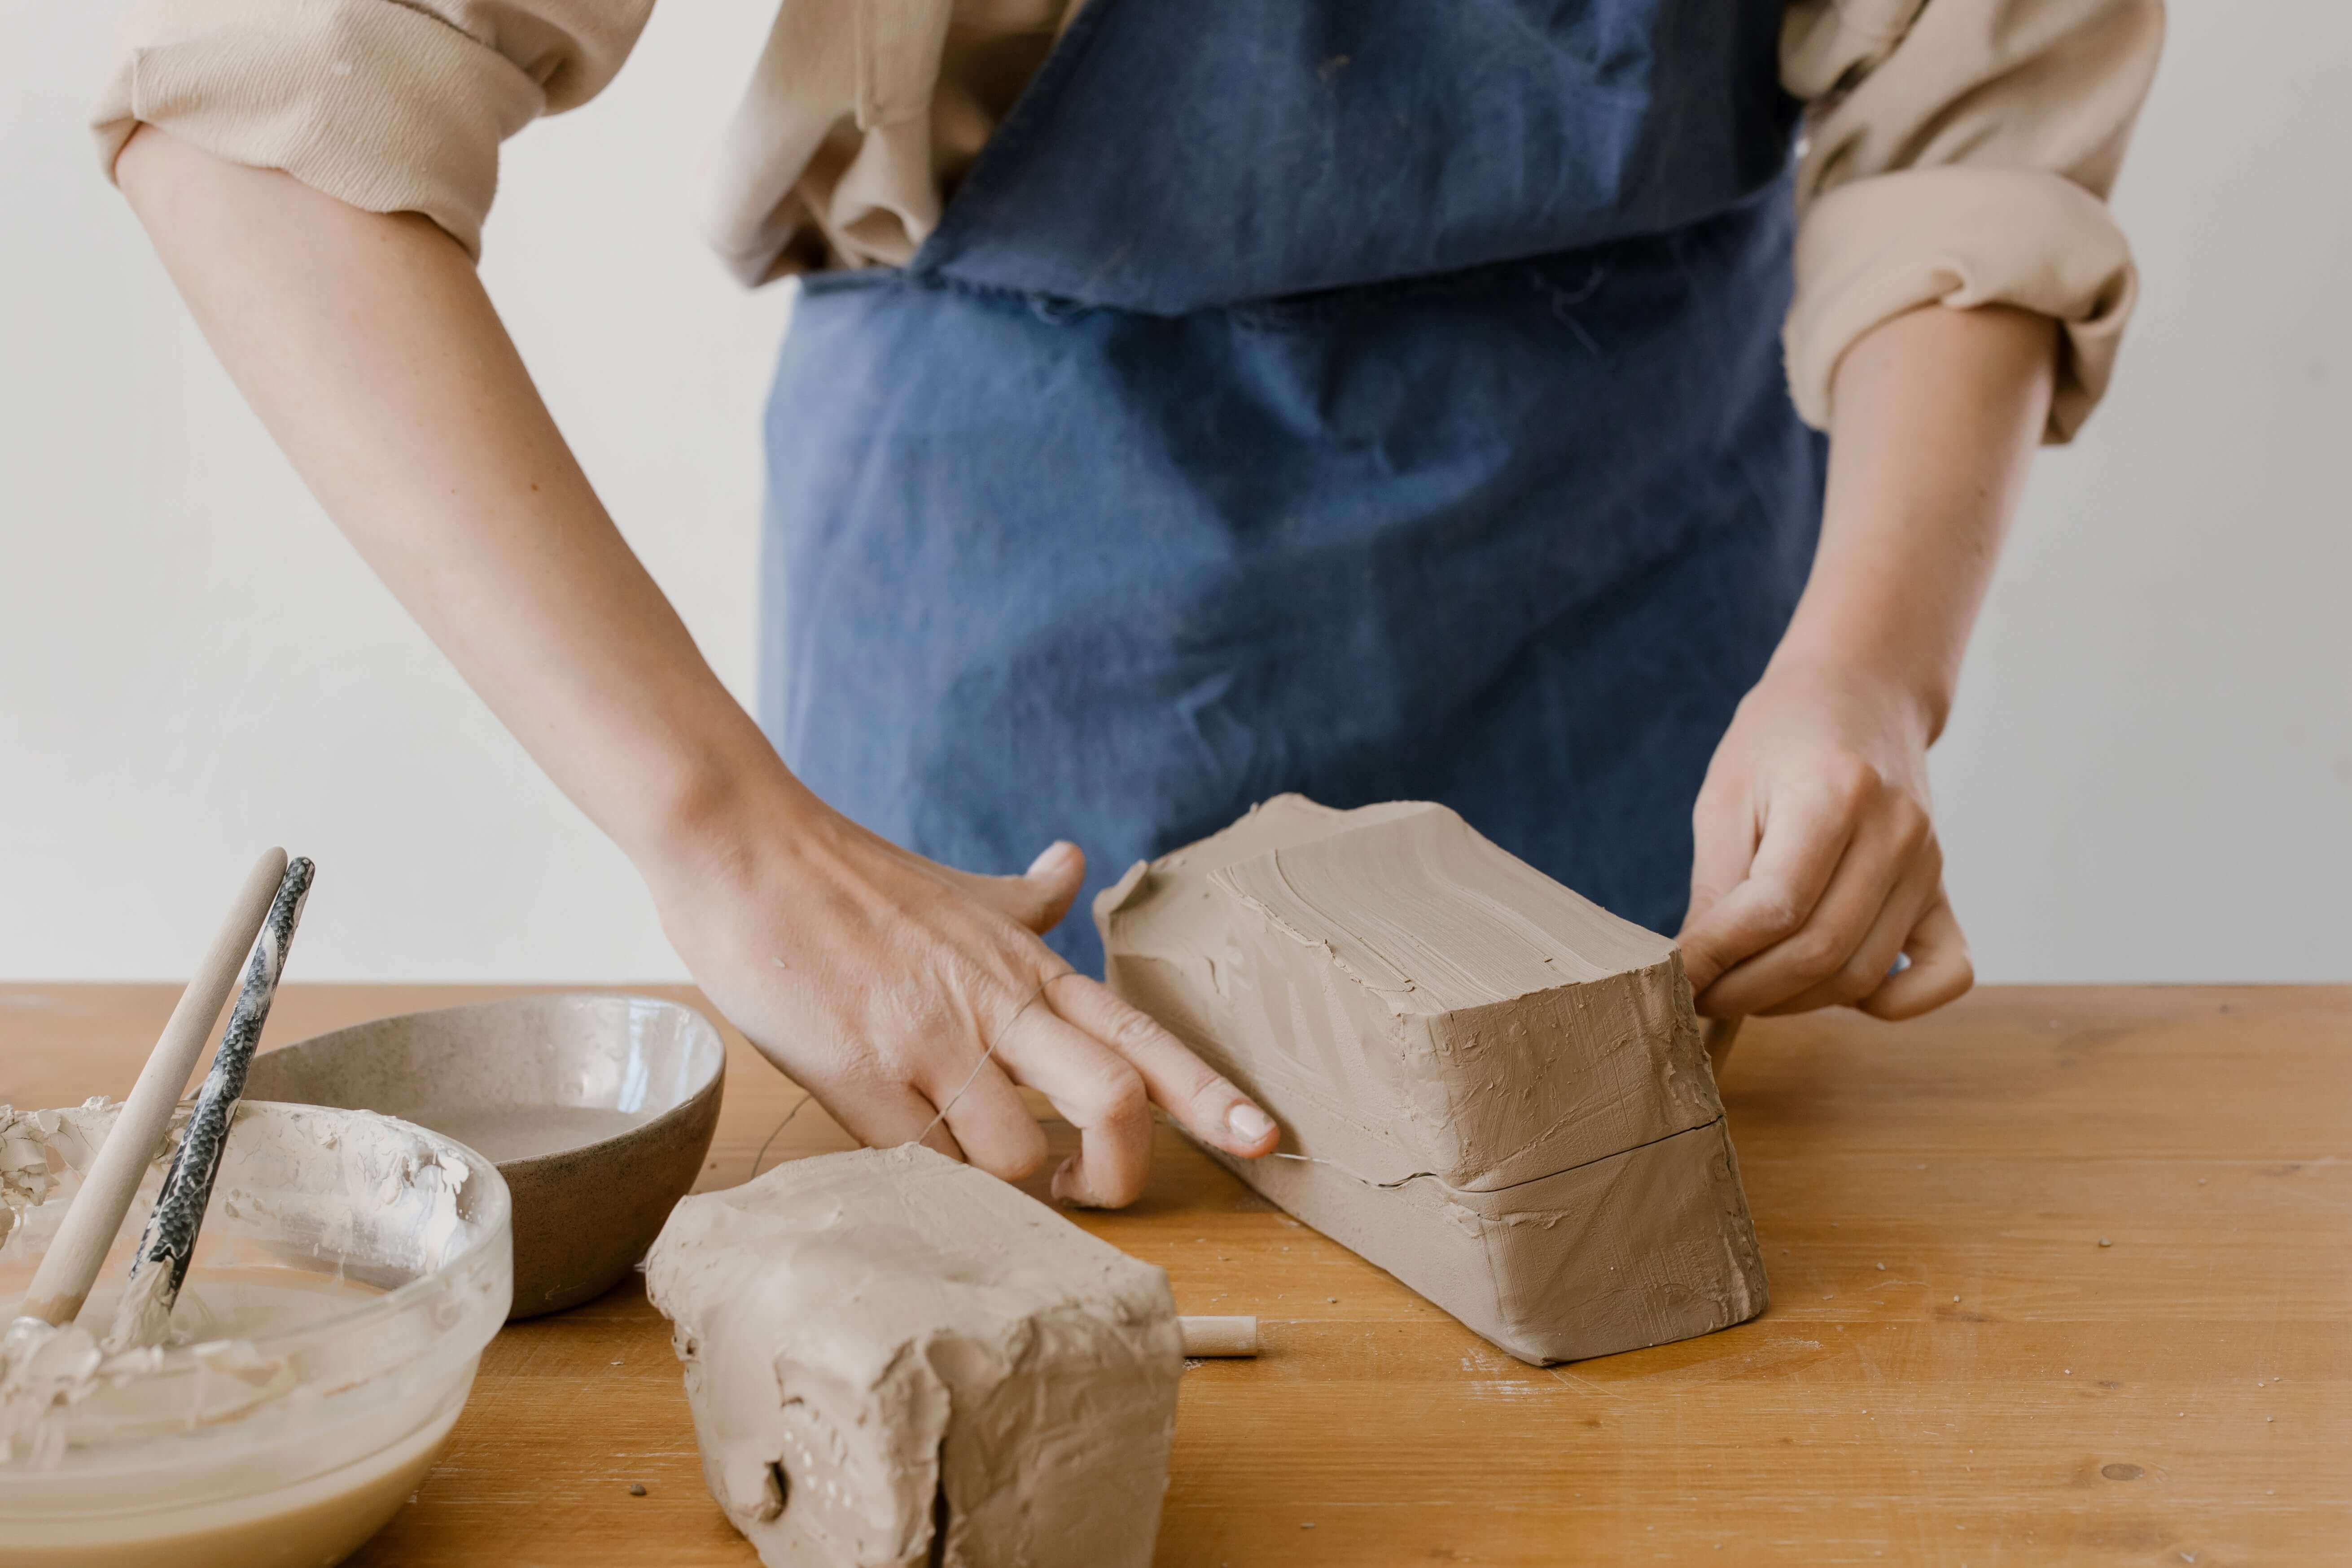
Techniques for Wedging Clay
Wedging is about kneading the clay to even out its consistency, eliminate air bubbles, and align particles. Two popular methods are the Rams Head and Spiral Wedging. Rams Head is similar to kneading dough, and Spiral Wedging involves twisting the clay. The choice between them often depends on personal preference and the clay volume.
Preparing Clay Balls for the Pottery Wheel
After wedging, form your clay into balls for the wheel. Match the clay ball size with the intended pottery piece size. Ensure the ball’s surface is smooth to make centering easier. A slightly flattened bottom helps it stick to the wheel head better.
By following these steps, you set a strong foundation for your pottery, ensuring your clay is in the best condition for shaping and creating beautiful pieces.

Mastering Centering on the Pottery Wheel
Centering clay on the pottery wheel is arguably one of the most challenging skills for beginners to master, yet it is the most critical step in the throwing process. A piece that is not centered will lead to uneven walls and can cause difficulties in shaping.
Step-by-Step Guide to Centering Clay
- Place the Clay Ball on the Wheel Head: Begin by firmly placing your prepared clay ball in the center of the wheel head. Use a bit of water to help it adhere but avoid using too much, as this can make the clay slippery and harder to control.
- Start the Wheel and Wet Your Hands: With your hands thoroughly wet, start the wheel at a moderate speed. Keeping your hands and the clay lubricated with water is crucial throughout the centering process.
- Cone Up and Down: Apply even pressure with both hands to form the clay into a cone shape, then press down to flatten it. This action helps to align the clay particles and eliminate air bubbles, making the clay more uniform. Repeat this process several times until the clay feels centered.
- Final Centering: Use one hand to anchor the clay at the base and the other to apply pressure at the top. Ease the pressure as the clay centers, maintaining contact until it spins smoothly.
Common Challenges and How to Overcome Them
- Clay Slipping from Hands: This often occurs when there’s too much water. Try using less water or allowing the clay to dry slightly between attempts.
- Clay Not Centering: Ensure you’re applying consistent and firm pressure. It might also help to slow down the wheel slightly until you get a feel for the right amount of pressure needed.
- Wrist Fatigue: Centering can be physically demanding. Make sure your elbows are anchored against your body for additional leverage and take breaks if needed.
Tips for Achieving Consistency in Centering
- Practice Regularly: Like any skill, regular practice is key to mastering centering. Dedicate time to just practicing centering, even if the clay doesn’t end up being thrown into a piece.
- Mind the Wheel Speed: Finding the optimal wheel speed for centering is crucial. Too fast, and the clay may be harder to control; too slow, and you might not have enough momentum.
- Watch and Learn: Observing experienced potters, either in person or through videos, can provide insights into subtle techniques that improve centering.
With the clay prepared and centered, the next step in the pottery making process is shaping basic forms. This foundational skill builds upon the centered clay to create cylinders, bowls, and plates, which are the basis for more complex pieces.
In the next section, we’ll cover techniques for shaping these basic forms, offering detailed instructions and troubleshooting tips to help you refine your pottery skills.
Shaping Basic Forms: Cylinder, Bowl, and Plate
Cylinder
The cylinder is a fundamental shape in pottery from which many other forms can be evolved, such as vases, pitchers, and mugs.
Techniques and Hand Positions
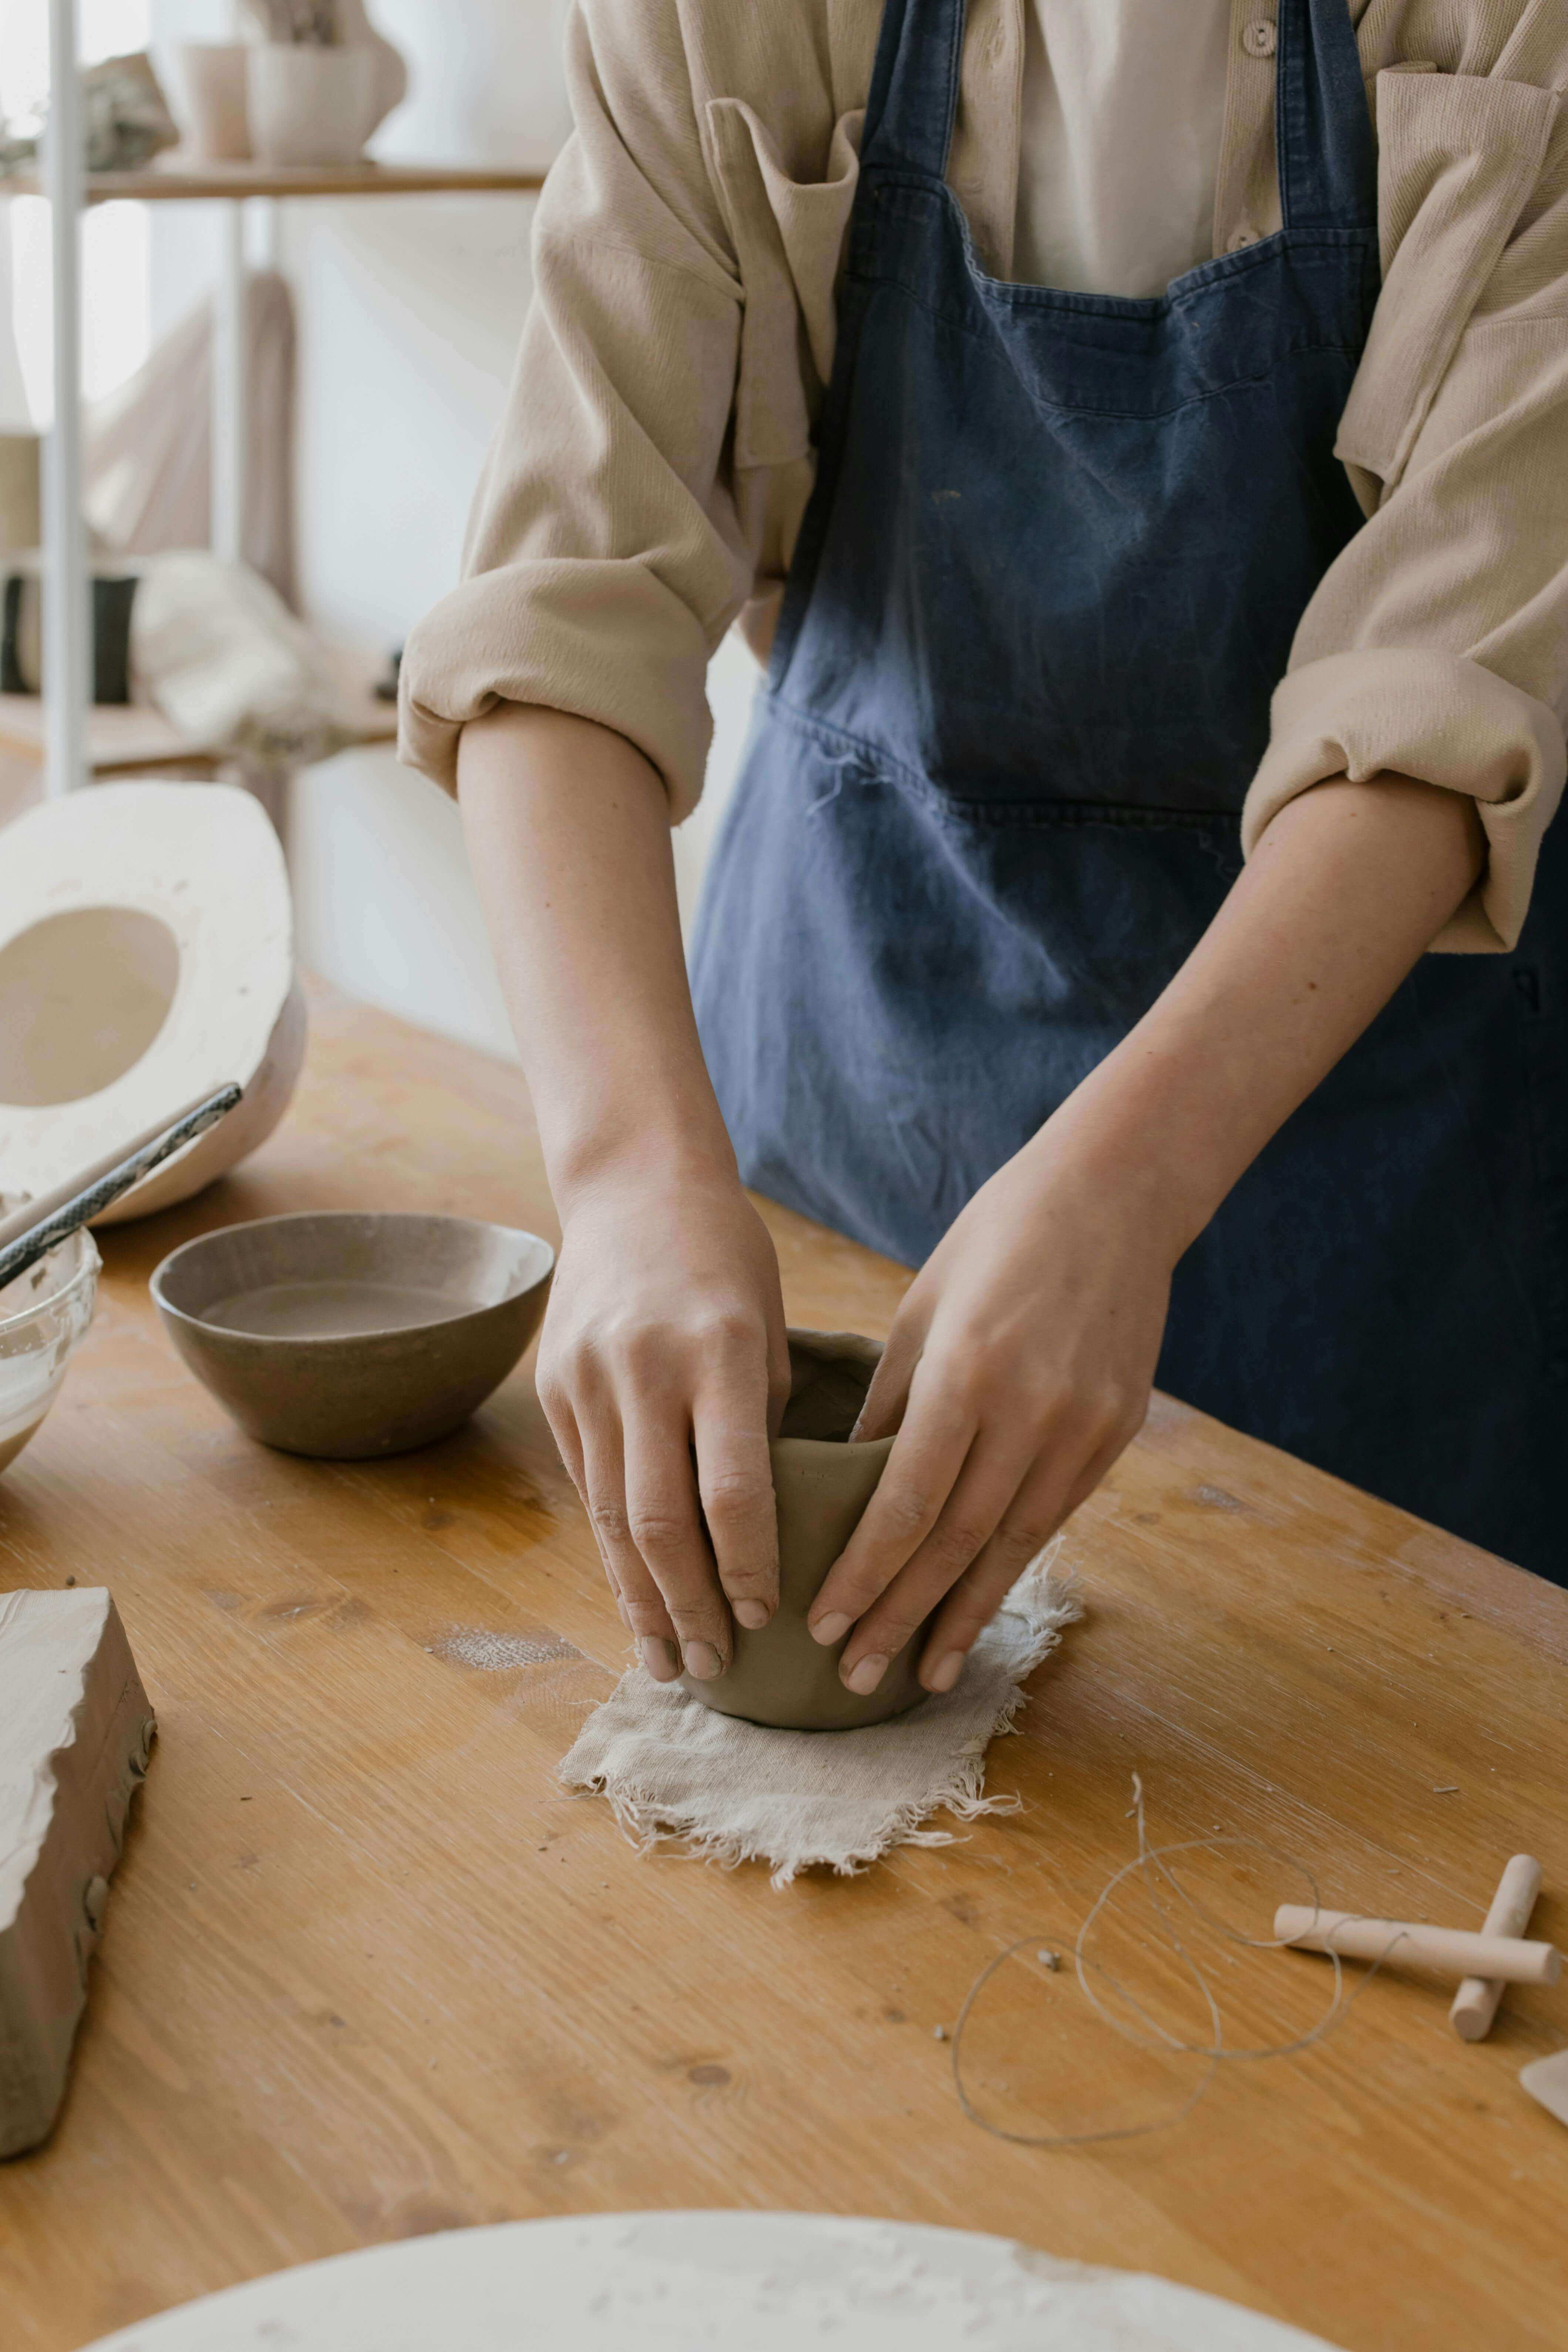
- Opening the Clay: After centering, use your thumbs or fingers to press down into the center of the clay, leaving a bottom of about 1/4 inch thick. Ensure the base is even to prevent cracking during drying and firing.
- Pulling Up the Walls: Wet your hands and the clay. Place one hand inside and one outside the clay. Gently squeeze the clay while slowly moving your hands upward. The key is to maintain consistent pressure and speed to ensure even walls.
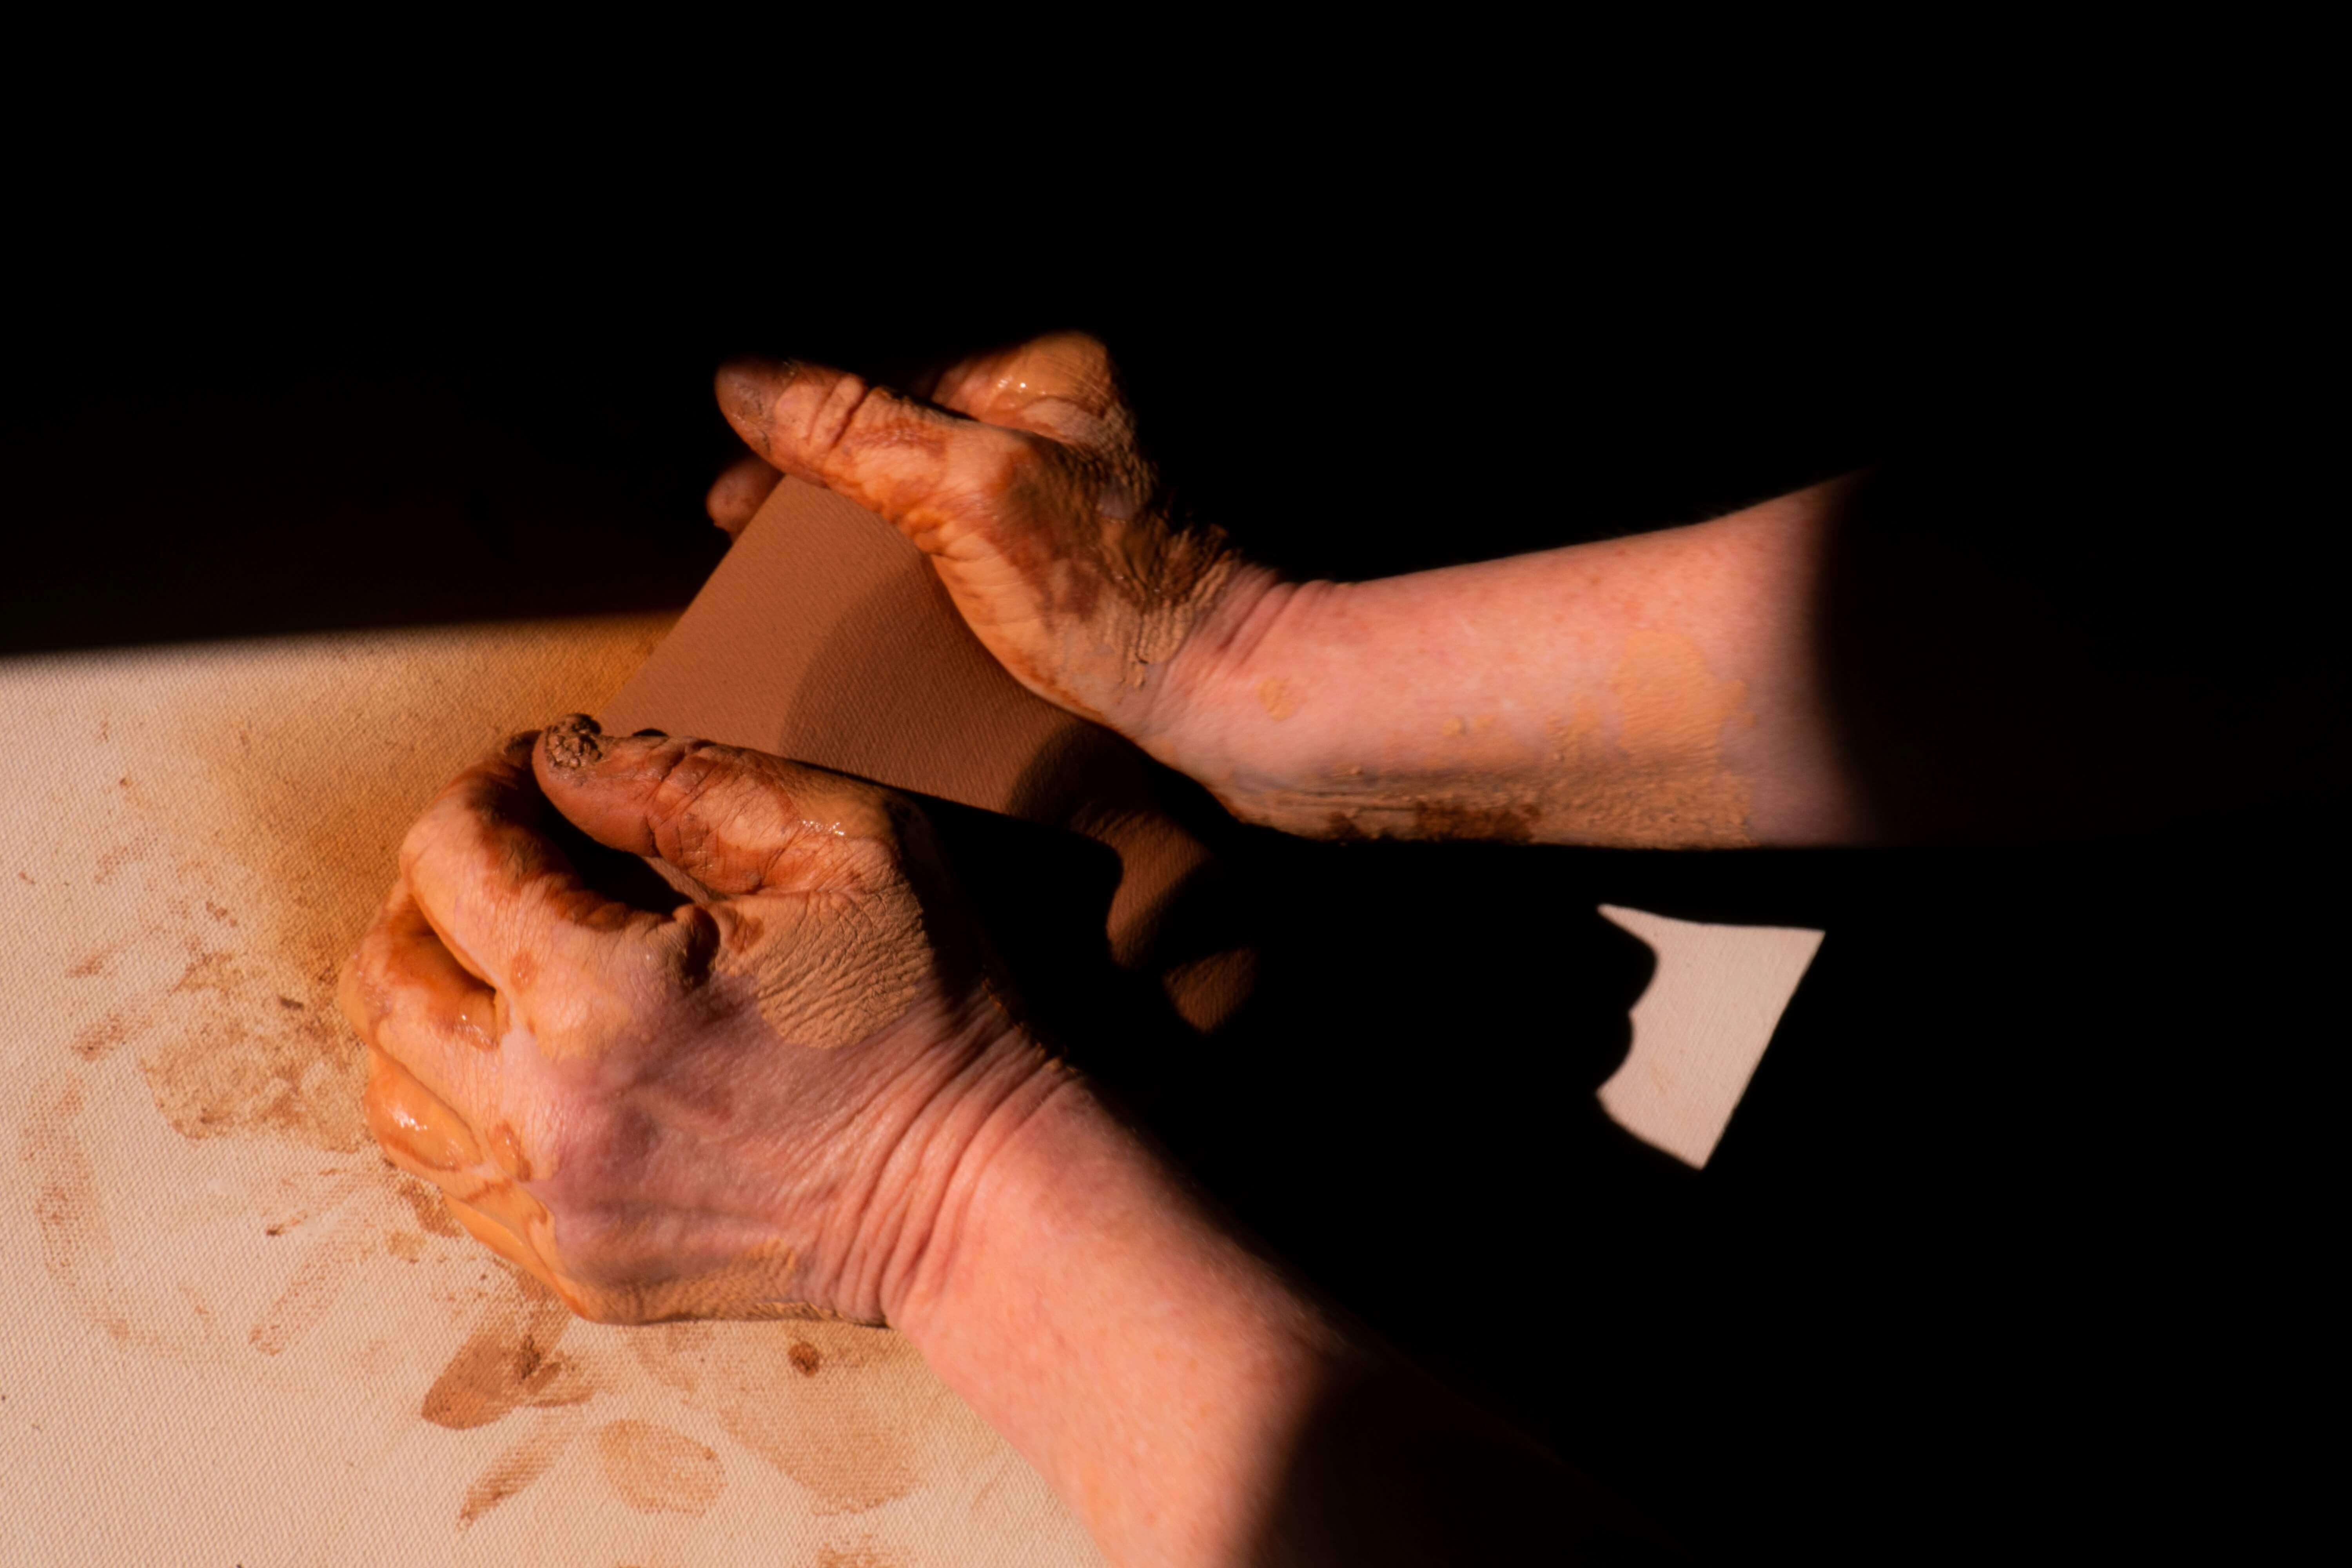
- Shaping: Use a rib tool to smooth the exterior and define the straight sides of the cylinder. Keep the top controlled by occasionally compressing it with your fingers.
Troubleshooting Common Issues
- Walls Thinning Unevenly: Ensure your inside and outside hands are directly opposite each other and moving at the same speed.
- Collapsing: This often happens if the walls become too thin or if the clay is too wet. Practice controlling the amount of water you use and focus on even pulls.
Bowl
Bowls are versatile forms that challenge potters to control the curve and depth of the shape.
Shaping from a Cylinder
- Starting with a Cylinder: Begin by throwing a basic cylinder shape. This provides a strong foundation for shaping the bowl.
- Widening and Curving: With steady hands, gently push the walls outward from the inside, using a sponge or your fingers. Support the outside with your other hand to control the shape. The curve should be smooth and continuous.
- Finalizing the Shape: Use a rib tool to refine the interior and exterior curves. Compress the rim to strengthen it and ensure it is level.
Adjusting Curvature and Depth
- Controlled Expansion: Start shaping the bowl from the bottom, allowing the curve to develop naturally as you move upwards.
- Even Thickness: Maintain an even wall thickness from the bottom to the rim for a balanced and functional bowl.
Plate
Plates require a focus on widening and flattening the clay, creating a challenge in controlling the clay’s spread without distorting the form.
Techniques for Widening and Flattening
- Opening Wide: After centering, open the clay wider than for a bowl or cylinder, creating a shallow depression in the center with a thick base.
- Shaping the Base and Rim: Use your fingers or a rib to define the flat base and gently curve the edges upward to form the rim.
- Compressing for Strength: Compress the base and rim to prevent warping during drying and firing.
Ensuring Even Thickness
- Use a Needle Tool: Periodically check the thickness of the base and rim with a needle tool to ensure consistency.
- Continuous Compression: Regularly compress the surface to consolidate the clay and ensure an even spread.
Refining and Finishing Touches
Once the basic forms are shaped, the next steps involve refining and adding finishing touches to enhance the piece’s functionality and aesthetics.
Smoothing Surfaces
- Use a rib tool to smooth the surface of your piece. This can help compress the clay particles, reducing the chance of warping or cracking during drying and firing.
- A sponge can also be used to smooth the surface, but be cautious not to over-wet the clay, as this can weaken the structure.
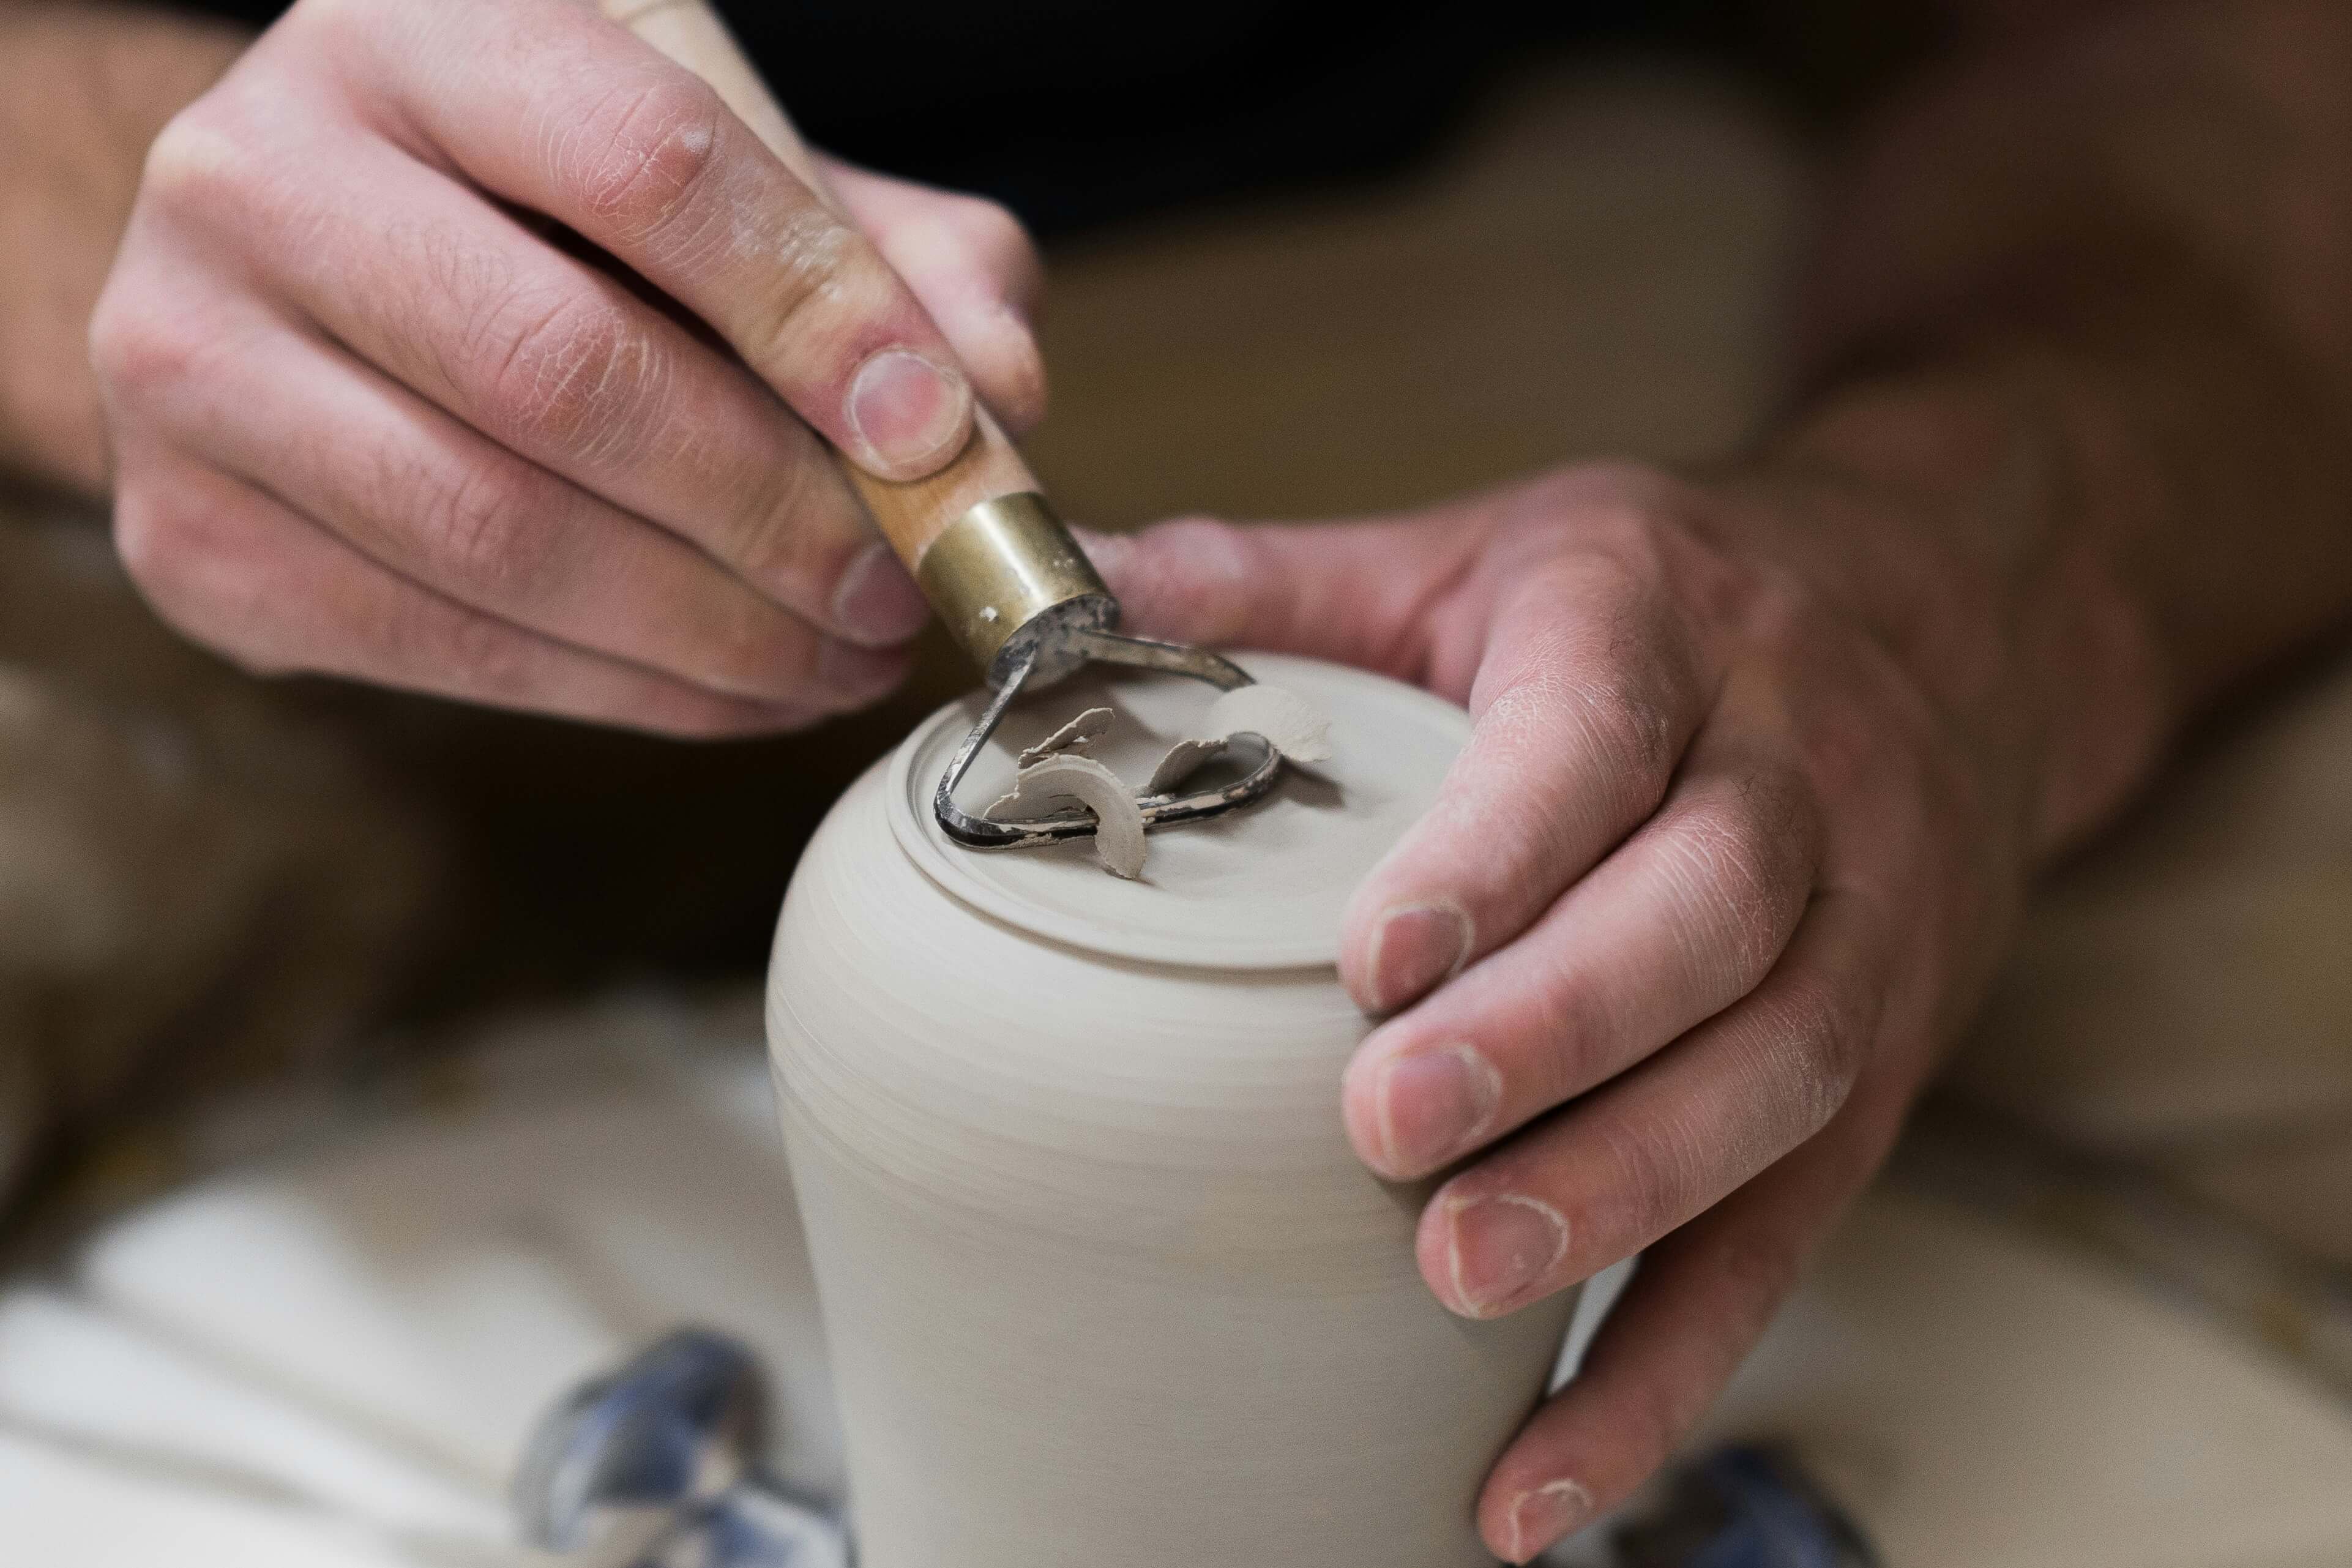
Trimming and Adding Foot Rings
- Trimming is done on a leather-hard piece to refine its shape and add features like foot rings. Center the piece upside down on the wheel, secure it, and use trimming tools to carve away excess clay.
- Foot rings are added by carving out a ring at the base, which can elevate the piece, improve stability, and add an aesthetic touch.
Tips for Consistent Finishes
- Uniform Thickness: Ensure walls and bases are of even thickness to reduce the risk of cracking.
- Attention to Detail: Spend time smoothing and refining edges and surfaces. Small imperfections can be addressed at this stage.
Practice and Patience: The Path to Mastery
Embarking on the journey of mastering the pottery wheel is akin to embarking on a journey of self-discovery and skill enhancement. Importantly, the essence of this art form lies not only in the beauty of the finished pieces but also in the dedication and perseverance required to bring them to life.
Importance of Regular Practice:
Indeed, the adage “practice makes perfect” holds profound truth in pottery. Regular practice is indispensable, as it allows you to develop a deep understanding of the clay’s behavior under your hands, how it responds to different pressures, and how it transforms at various wheel speeds. Consequently, each session on the wheel is an opportunity to refine your technique, from centering to shaping to finishing touches. Therefore, set aside consistent practice times, and treat each piece as a step forward in your pottery journey, regardless of its outcome.
Learning from Mistakes:
Moreover, in pottery, mistakes are not just inevitable; they are invaluable. Each collapsed bowl, each uneven rim, and each crack in the clay teaches you something new about the process, the material, and your approach. Instead of viewing mistakes as setbacks, see them as lessons that guide your path to mastery. Thus, reflect on what went wrong, adjust your technique, and approach the wheel again with renewed insight and determination.
Encouragement for the Journey of Mastery:
Furthermore, the path to mastering the pottery wheel is filled with challenges, but it’s also lined with the joy of creation, the satisfaction of improvement, and the beauty of artistic expression. Remember, every skilled potter once faced the same challenges and frustrations as you. With patience, persistence, and passion, you will not only overcome these hurdles but also discover your unique voice in the clay. Finally, embrace each moment at the wheel, and let your love for pottery fuel your journey to mastery.
Conclusion
As we conclude this guide on “The Art of Throwing: Tips for Centering and Shaping on the Wheel,” it’s clear that mastering the pottery wheel is both an art and a science. It requires an understanding of the material, a command of techniques, and, most importantly, a commitment to continuous learning and practice. The journey from a lump of clay to a finished piece is filled with potential pitfalls and triumphs, each teaching us more about the craft and ourselves.
Whether you are just beginning your journey or seeking to refine your skills, remember that patience, practice, and perseverance are your allies. Celebrate your progress, learn from your mistakes, and never lose the joy and wonder that drawing shapes from clay brings. As you continue on your path, let the wheel be both your teacher and your muse, guiding you toward the mastery of this ancient and beautiful art form.


0 Comments