Pottery is an ancient art form that has been practiced for thousands of years, with its roots dating back to ancient civilizations. Today, pottery remains a popular hobby and creative outlet for many people around the world. If you’re new to pottery and eager to get started, you’re in the right place! In this guide, we’ll explore five essential pottery techniques that every beginner should master. From coiling to pinching and slab building, these techniques form the foundation of pottery making and will set you on the path to creating beautiful, functional ceramic pieces. So, let’s dive in and discover the art of pottery together!
Coiling
Coiling is one of the oldest methods of pottery making, dating back to prehistoric times. This technique involves creating pottery by gradually stacking coils of clay on top of each other and then smoothing them together to form the desired shape. Coiling is versatile and can be used to create a wide range of forms, from simple bowls to intricate sculptures. Here’s a step-by-step guide to mastering the coiling technique:
- Prepare Your Clay: Start by wedging your clay to remove any air bubbles and ensure it’s smooth and pliable. Then, divide the clay into evenly-sized pieces to create your coils.
- Rolling Coils: Roll each piece of clay between your palms to create long, even coils. Make sure the coils are consistent in thickness and length for a uniform finish.
- Building the Form: Begin by laying a coil of clay on your work surface in the shape of the base of your pot. Then, continue stacking coils on top of each other, gently pressing them together to bond them.
- Smoothing and Shaping: Once you’ve built the basic form of your pot, use your fingers or a smoothing tool to blend the coils together and create a seamless surface. You can also use shaping tools to refine the shape of your pot and add decorative details.
- Drying and Firing: Allow your coiled pot to dry completely before firing it in a kiln according to the clay’s specific firing instructions. Once fired, your pot will be transformed into a durable ceramic piece ready for glazing and finishing touches.
Coiling is a great technique for beginners to experiment with, offering endless possibilities for creativity and expression.
Pinching
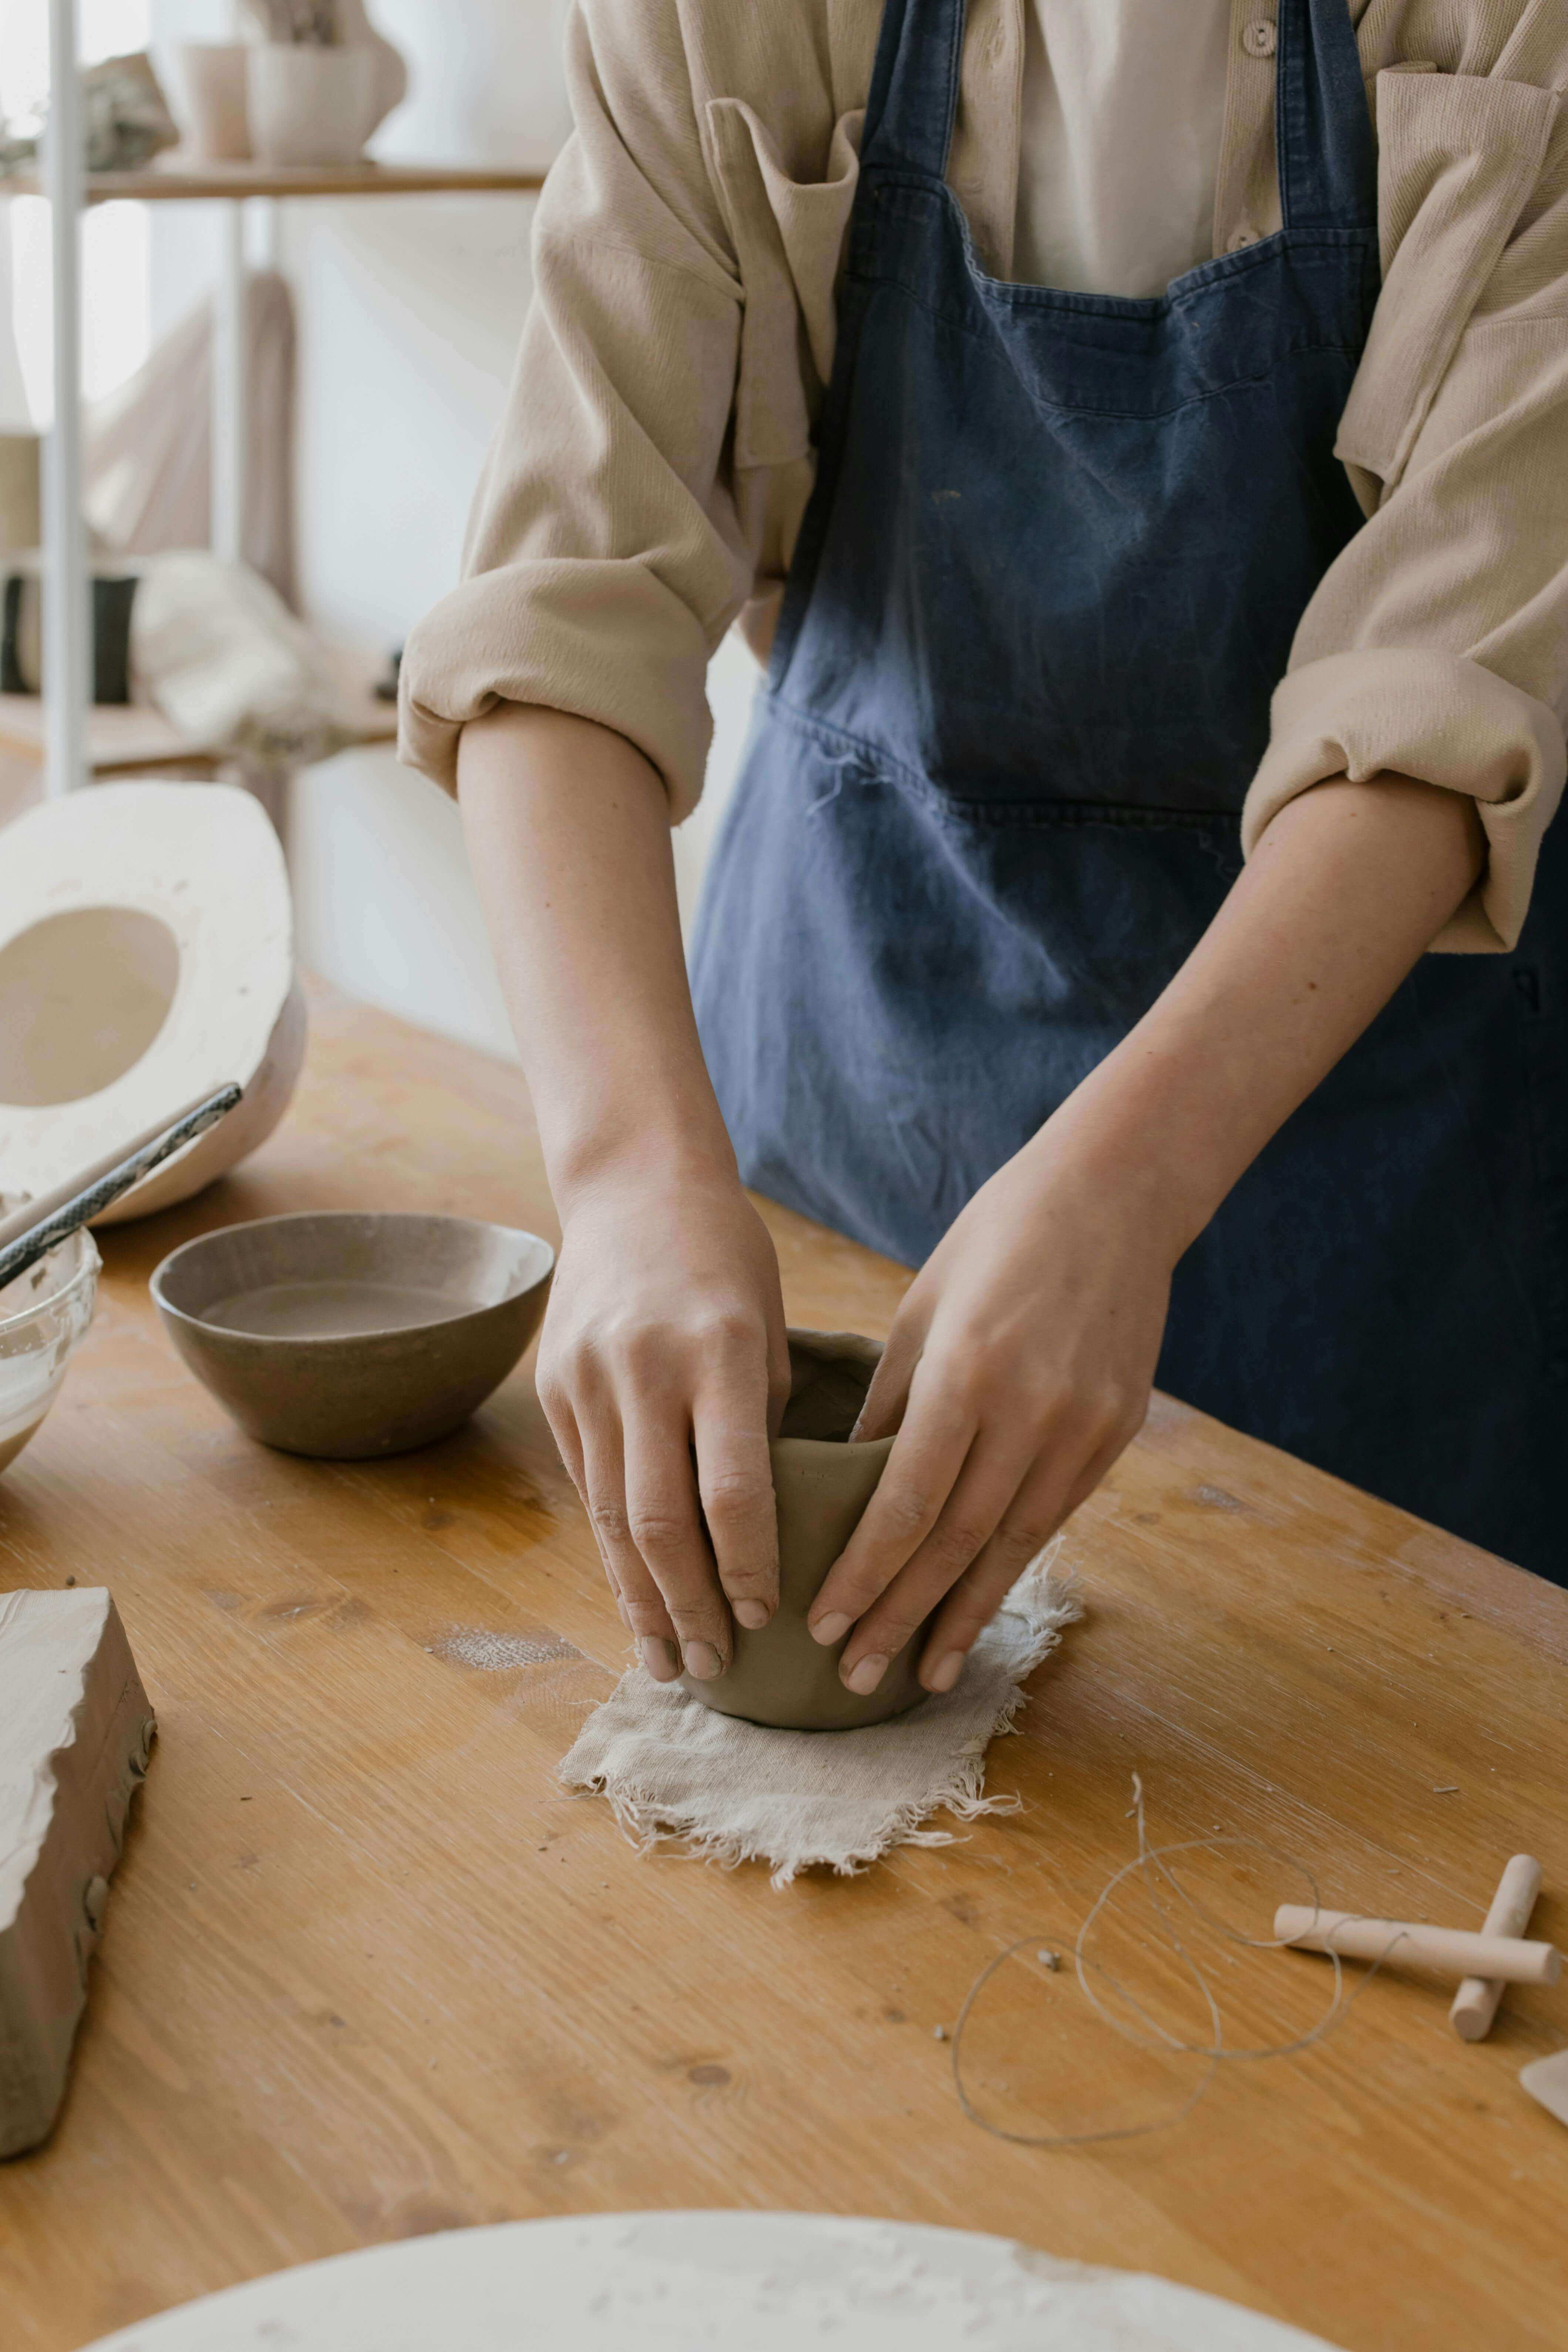
Pinching is another ancient pottery technique that requires minimal tools and equipment, making it ideal for beginners. This method involves shaping clay by pinching and squeezing it with your fingers to create various forms and vessels. Pinching allows for a more intuitive and hands-on approach to pottery making, enabling you to feel the clay’s texture and respond to its natural properties. Here’s how to master the pinching technique:
- Prepare Your Clay: Begin by wedging your clay to remove any air bubbles and ensure it’s soft and workable. Then, portion out a piece of clay to use for your pinched vessel.
- Forming the Base: Start by rolling a small ball of clay between your palms to create a smooth, round base for your vessel. Place the ball on your work surface and gently flatten it with your fingers to create the base.
- Pinching and Shaping: Using your thumb and fingers, begin pinching and squeezing the clay to gradually shape it into the desired form. Pinch the clay evenly from all sides to maintain symmetry and control the thickness of the walls.
- Thinning and Smoothing: As you pinch and shape the clay, thin out the walls of the vessel to achieve the desired thickness. Use your fingers to smooth out any rough or uneven areas, creating a uniform surface texture.
- Finishing Touches: Once you’re happy with the shape of your pinched vessel, use shaping tools or your fingers to refine the form and add any decorative details. Allow the vessel to dry completely before firing it in a kiln.
Pinching is a tactile and meditative process that allows you to connect with the clay on a deeper level, resulting in unique and expressive pottery pieces.
Slab Building
Slab building is a versatile pottery technique that involves creating flat sheets of clay (slabs) and then cutting and assembling them to construct three-dimensional forms. This method allows for precision and control, making it ideal for creating functional pottery such as plates, trays, and boxes. Here’s a step-by-step guide to mastering the slab building technique:
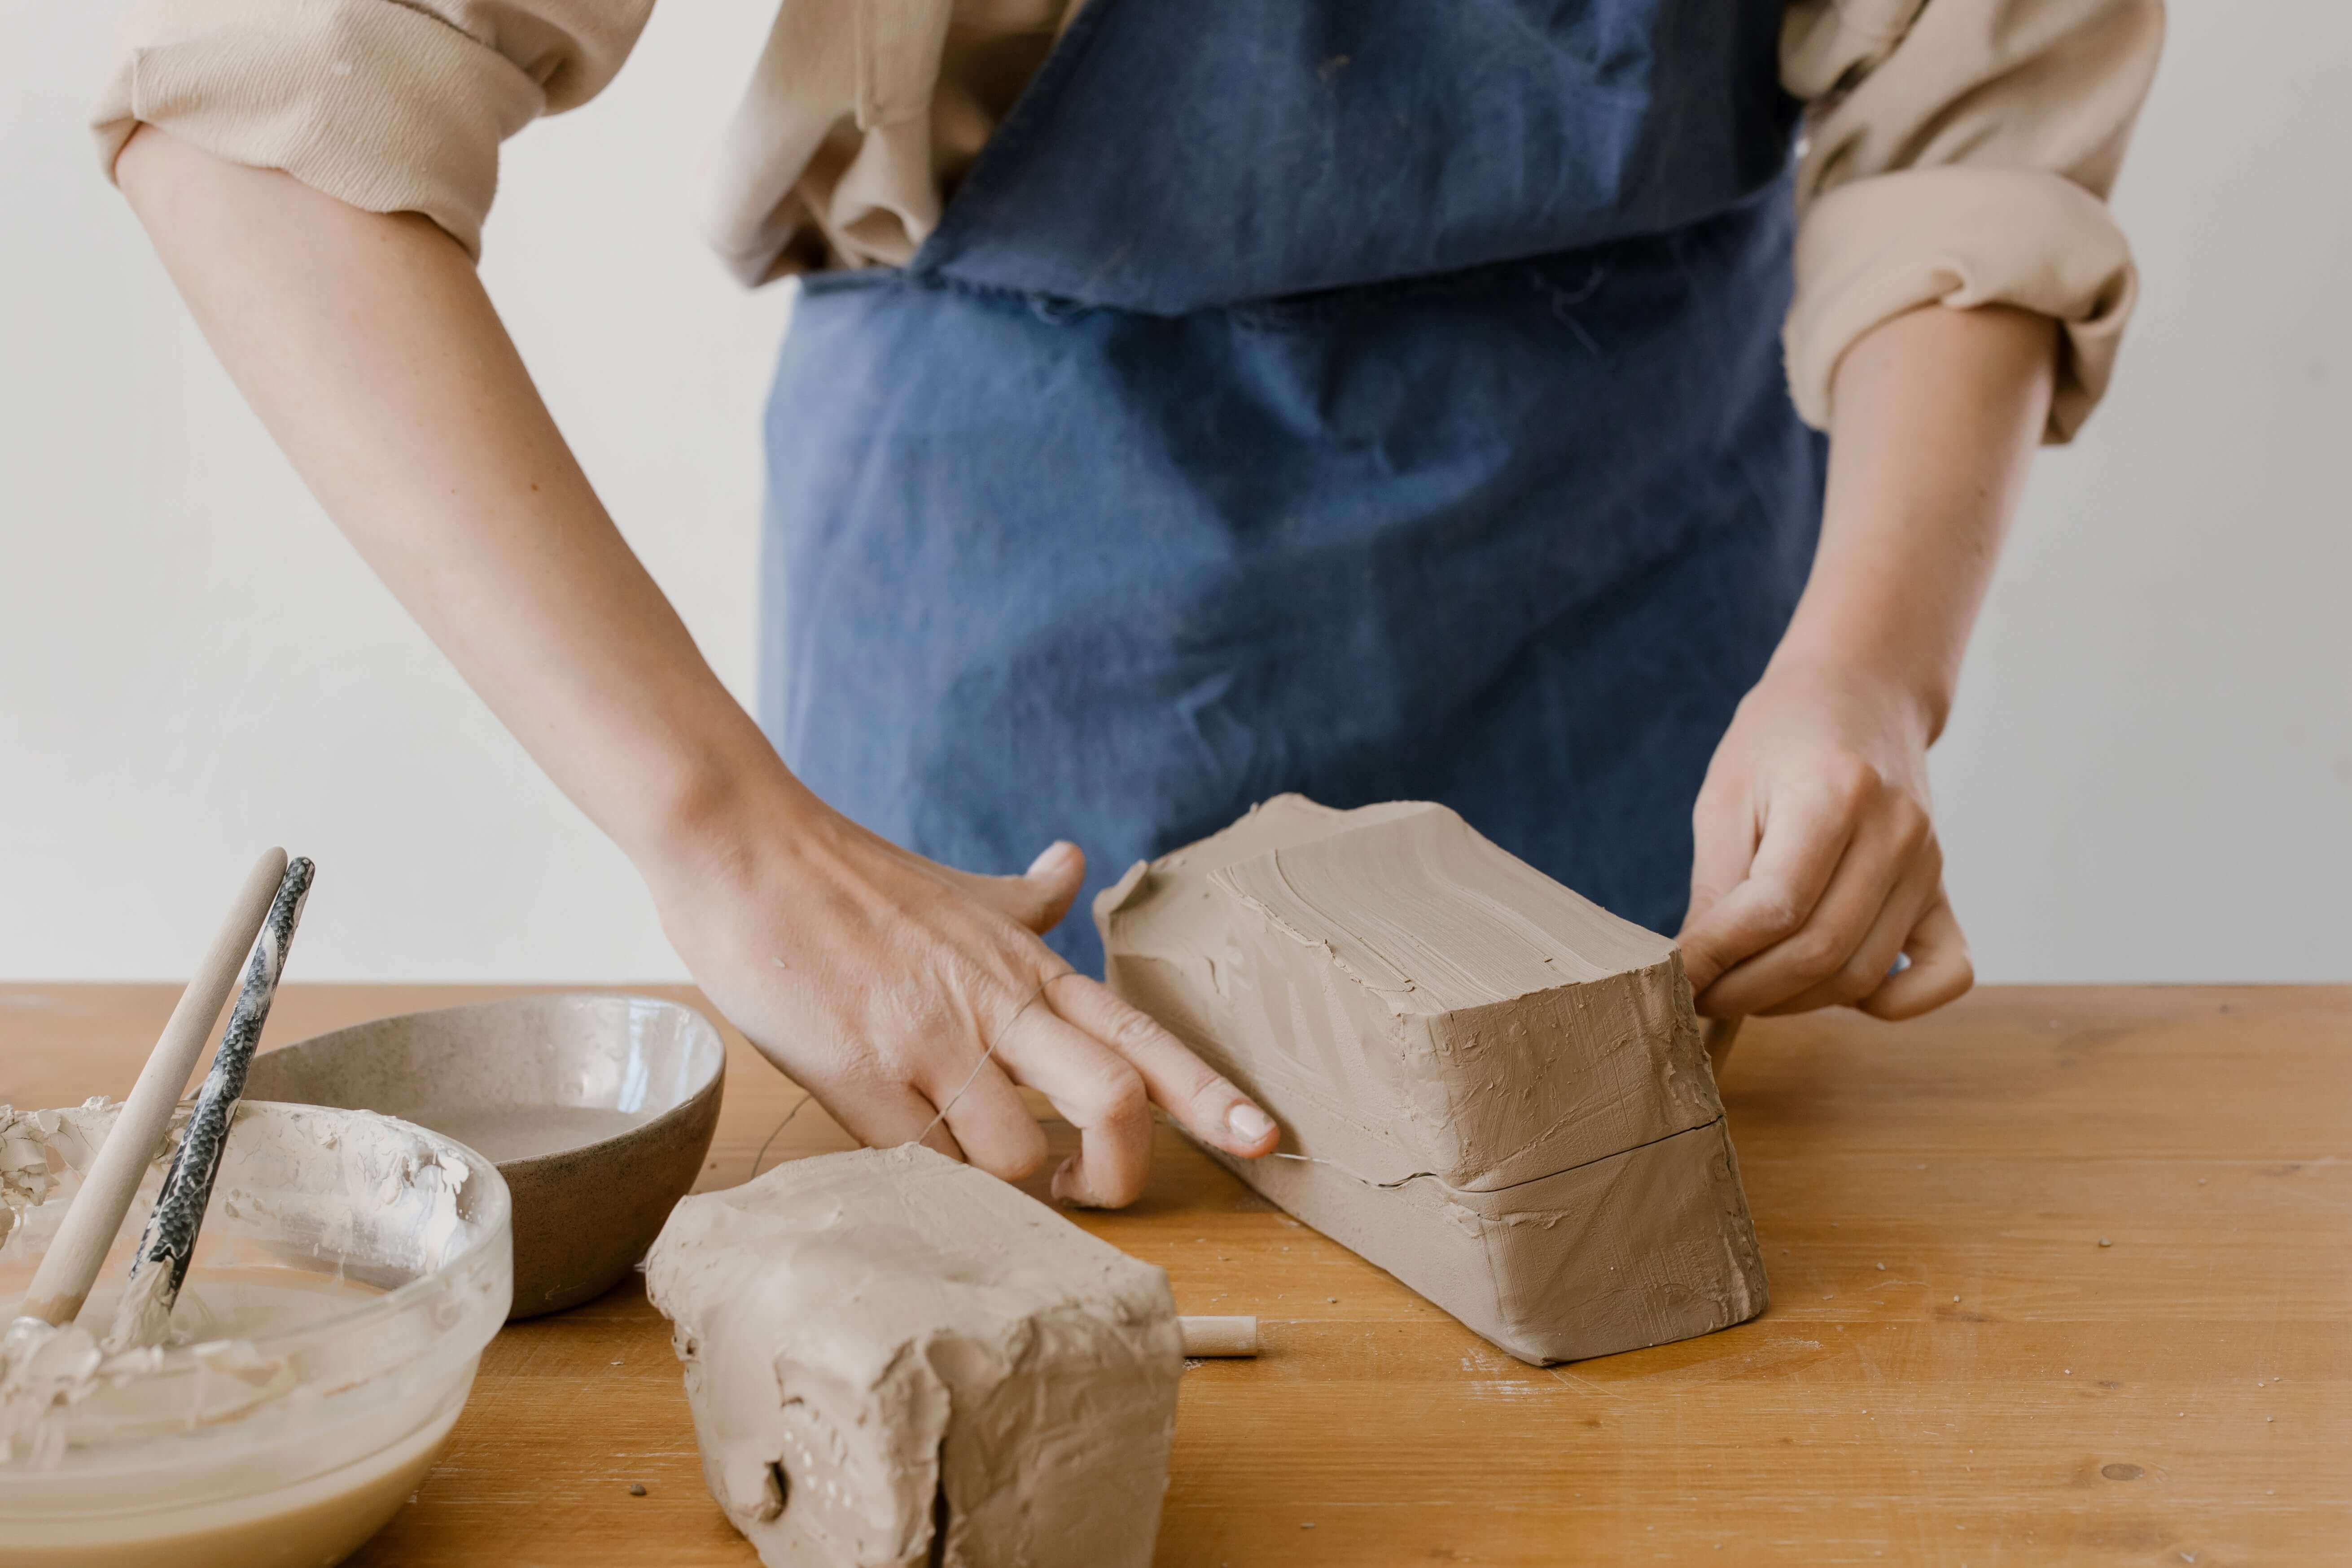
- Prepare Your Clay: Begin by wedging your clay to remove any air bubbles and ensure it’s smooth and consistent in texture. Then, roll out a slab of clay using a rolling pin or slab roller until it’s the desired thickness.
- Cutting Shapes: Use templates or a ruler and knife to cut out the shapes needed to construct your pottery piece. You can cut out flat shapes for the sides of your vessel, as well as additional pieces for the base, rim, and any decorative elements.
- Assembling the Form: Once you’ve cut out all the necessary pieces, begin assembling them by scoring and slipping the edges together. Score the edges of the clay pieces with a scoring tool or fork, then apply slip (a mixture of clay and water) to create a strong bond between the pieces.
- Shaping and Finishing: After assembling the form, use your fingers or shaping tools to smooth out the seams and refine the shape of your piece. You can also add texture or decorative details at this stage using stamps, rollers, or carving tools.
- Drying and Firing: Allow your slab-built piece to dry completely before firing it in a kiln according to the clay’s specific firing instructions. Once fired, you can glaze and finish your pottery piece to enhance its appearance and durability.
Slab building offers endless possibilities for creativity and experimentation, allowing you to create custom pottery pieces tailored to your unique style and preferences.

Wheel Throwing
Wheel throwing is a more advanced pottery technique that involves shaping clay on a pottery wheel to create symmetrical vessels such as bowls, cups, and vases. While wheel throwing requires practice and skill to master, it offers the opportunity to create beautifully refined and functional pottery pieces. Here’s an overview of the wheel throwing process:
- Preparing Your Clay: Start by wedging your clay to remove any air bubbles and ensure it’s smooth and consistent in texture. Then, center the clay on the pottery wheel by applying pressure with your hands while the wheel is spinning.
- Throwing the Form: Use your thumbs to create a conical indentation in the center of the clay, known as the “opening.” Then, gradually pull the walls of the vessel upward and outward using your fingers and hands, maintaining an even thickness throughout.
- Shaping and Smoothing: As you shape the clay, use shaping tools and sponges to refine the form and smooth out any imperfections. Pay attention to the rim of the vessel, ensuring it’s even and well-defined.
- Trimming and Finishing: Once you’re happy with the shape of your vessel, use a trimming tool to remove excess clay from the bottom and create a foot ring. This step adds stability to the piece and creates a finished appearance.
- Drying and Firing: Allow your wheel-thrown piece to dry completely before firing it in a kiln according to the clay’s specific firing instructions. After firing, you can glaze and finish your pottery piece to enhance its appearance and functionality.
Wheel throwing requires patience and practice, but with time and dedication, you can master this rewarding pottery technique and create stunning pieces of art.
Sculpting
Sculpting is a creative and expressive pottery technique that allows you to transform clay into three-dimensional forms and sculptures. Unlike other pottery techniques, sculpting involves building up clay rather than shaping it from a flat surface. Sculpting offers endless possibilities for artistic expression and experimentation, making it a favorite among many pottery enthusiasts. Here’s how to get started with sculpting:
- Choosing Your Clay: Select a clay body suited to sculpting, such as a stoneware or porcelain clay with good plasticity and strength. Wedge the clay to remove any air bubbles and ensure it’s soft and workable.
- Building the Armature: Begin by creating an armature (a supportive framework) for your sculpture using wire, wood, or other materials. The armature provides structure and support for the clay as you sculpt.
- Adding Clay: Start adding small amounts of clay to the armature, building up the form gradually. Use your hands, fingers, and sculpting tools to shape and refine the clay, paying attention to proportions, details, and surface texture.
- Sculpting Techniques: Experiment with different sculpting techniques, such as carving, modeling, and hollowing out, to achieve the desired effects. Be open to exploring and adapting your approach as you work with the clay.
- Drying and Firing: Allow your sculpted piece to dry completely before firing it in a kiln according to the clay’s specific firing instructions. After firing, you can apply glazes or surface treatments to enhance the appearance of your sculpture.
Sculpting is a deeply rewarding pottery technique that encourages creativity and self-expression, allowing you to bring your artistic vision to life in clay.
Pottery making is a rich and rewarding craft that offers endless opportunities for creativity and self-expression. Whether you’re a complete beginner or an experienced artist, mastering the fundamental pottery techniques discussed in this guide will set you on the path to creating beautiful and functional ceramic pieces. From coiling and pinching to slab building, wheel throwing, and sculpting, each technique offers its own unique challenges and rewards. So, roll up your sleeves, get your hands dirty, and let your creativity soar as you embark on your pottery journey!


0 Comments